If you are wondering how to fix deep scratches on a car, then this blog post is for you. There are many ways that can help you get rid of these unsightly scratches and restore the look of your vehicle. The first thing that should be done is using rubbing compound or scratch remover. This will remove any remaining paint from the surface and give it an even appearance again.
Next, apply polishing wax to protect the area against further damage and create a protective barrier against UV rays which can cause more discolouration in time. The last step would be applying carnauba wax over the top if desired for added protection and shine!
Our team here at DW Motor Services have put together a list of how you can repair a deep scratch on your car. Our car body repairs team are an expert in this field.


Step One
When it comes to the first step of repairing scratches on your car, you need to make sure the area is completely clean of any grease, debris and dirt. To do this you will need to wash the surface of your car with warm water and a car safe soap, clean it thoroughly and then dry using a lint-free cloth. You need to make sure the area is clean of any wax and dirt because if you don’t have any new paint you put on the car won’t adhere.
You can buy special cleaners online and also from automotive shops, these are specifically designed to remove any materials from the paint that need to be removed, make your life easier and buy a specific car cleaner.
Step Two
Once you have cleaned the area if there is rust present you need to focus some time on this before you move on to the next step. To get rid of rust we recommend using 400 grit wet or dry sandpaper. This needs to be done carefully, you don’t want to cause more damage than is already done, you can also use a chemical rust remover. If you choose to do this you need to follow the instruction in the box.
Step Three
Step three is similar to step two, now you have removed any signs of rust around the damaged area, you need to move on to sanding the damaged area of the scratch with a medium to fine (320) sandpaper. Remember not to sand too hard! If you are too heavy-handed with the sandpaper you will cause extra necessary damage to more paintwork.
All you are trying to do at this stage is sand down the top layer.
Step Four
The next step is to move on to wet sanding, this is where you need to use 400 or 600 grit sandpaper to continue sanding, the biggest difference is that you need a bucket of water or a hose so that you can keep the area wet. This also helps keep the area clean.
After you have finished all these sanding steps you will be left with a smooth finished area ready for the next steps.


Step Five
Before moving on to the next step you need to take this time to check your sanding has been carried out to the highest quality possible, it will make a huge difference to your finished paint job. The area should be what is known in the industry as ‘feathered’. This simply means that it is blended gradually, if when you run your hand over the area you have sanded you can feel any lumps or bumps, you need to get your sandpaper back out and try again.
You MUST make sure this step is carried out properly and checked.
Step Six
Moving on from sanding, your next step is to spray the area with a light coating of primer, once you have done this allow it completely dry to the touch and then spray another light coating of primer again. You need to be incredibly careful when you are spraying the primer, if it starts to run or sag you are putting too much on.
Top Tip – Make sure each coat dries all together before you put the next layer on.
Step Seven
Did you think the sanding was over? Not just yet, once you have sprayed the primer onto the affected area you are ready to sand again. Again, make sure the primer is completely dry before you start sanding again. For this sanding process, you will need the hose or a bucket of water again as you need to wet sand with 400 to 600 grit sandpaper, you can sand it dry, but we recommend wet.
Work the sandpaper over the area, but please make sure you do this lightly and very carefully, the reason you are sanding this time is to smooth the primer, making it paint ready.
Step Eight
Believe it or not but it can happen where people sand straight through the layers of primer that have been applied, should this happen do not panic. Simply start the priming process again, spray a light coat, let it dry, spray another light coat, let it dry and then sand.
Remember if any part of the area is rough when you have finished sanding this will affect the finished paint job.
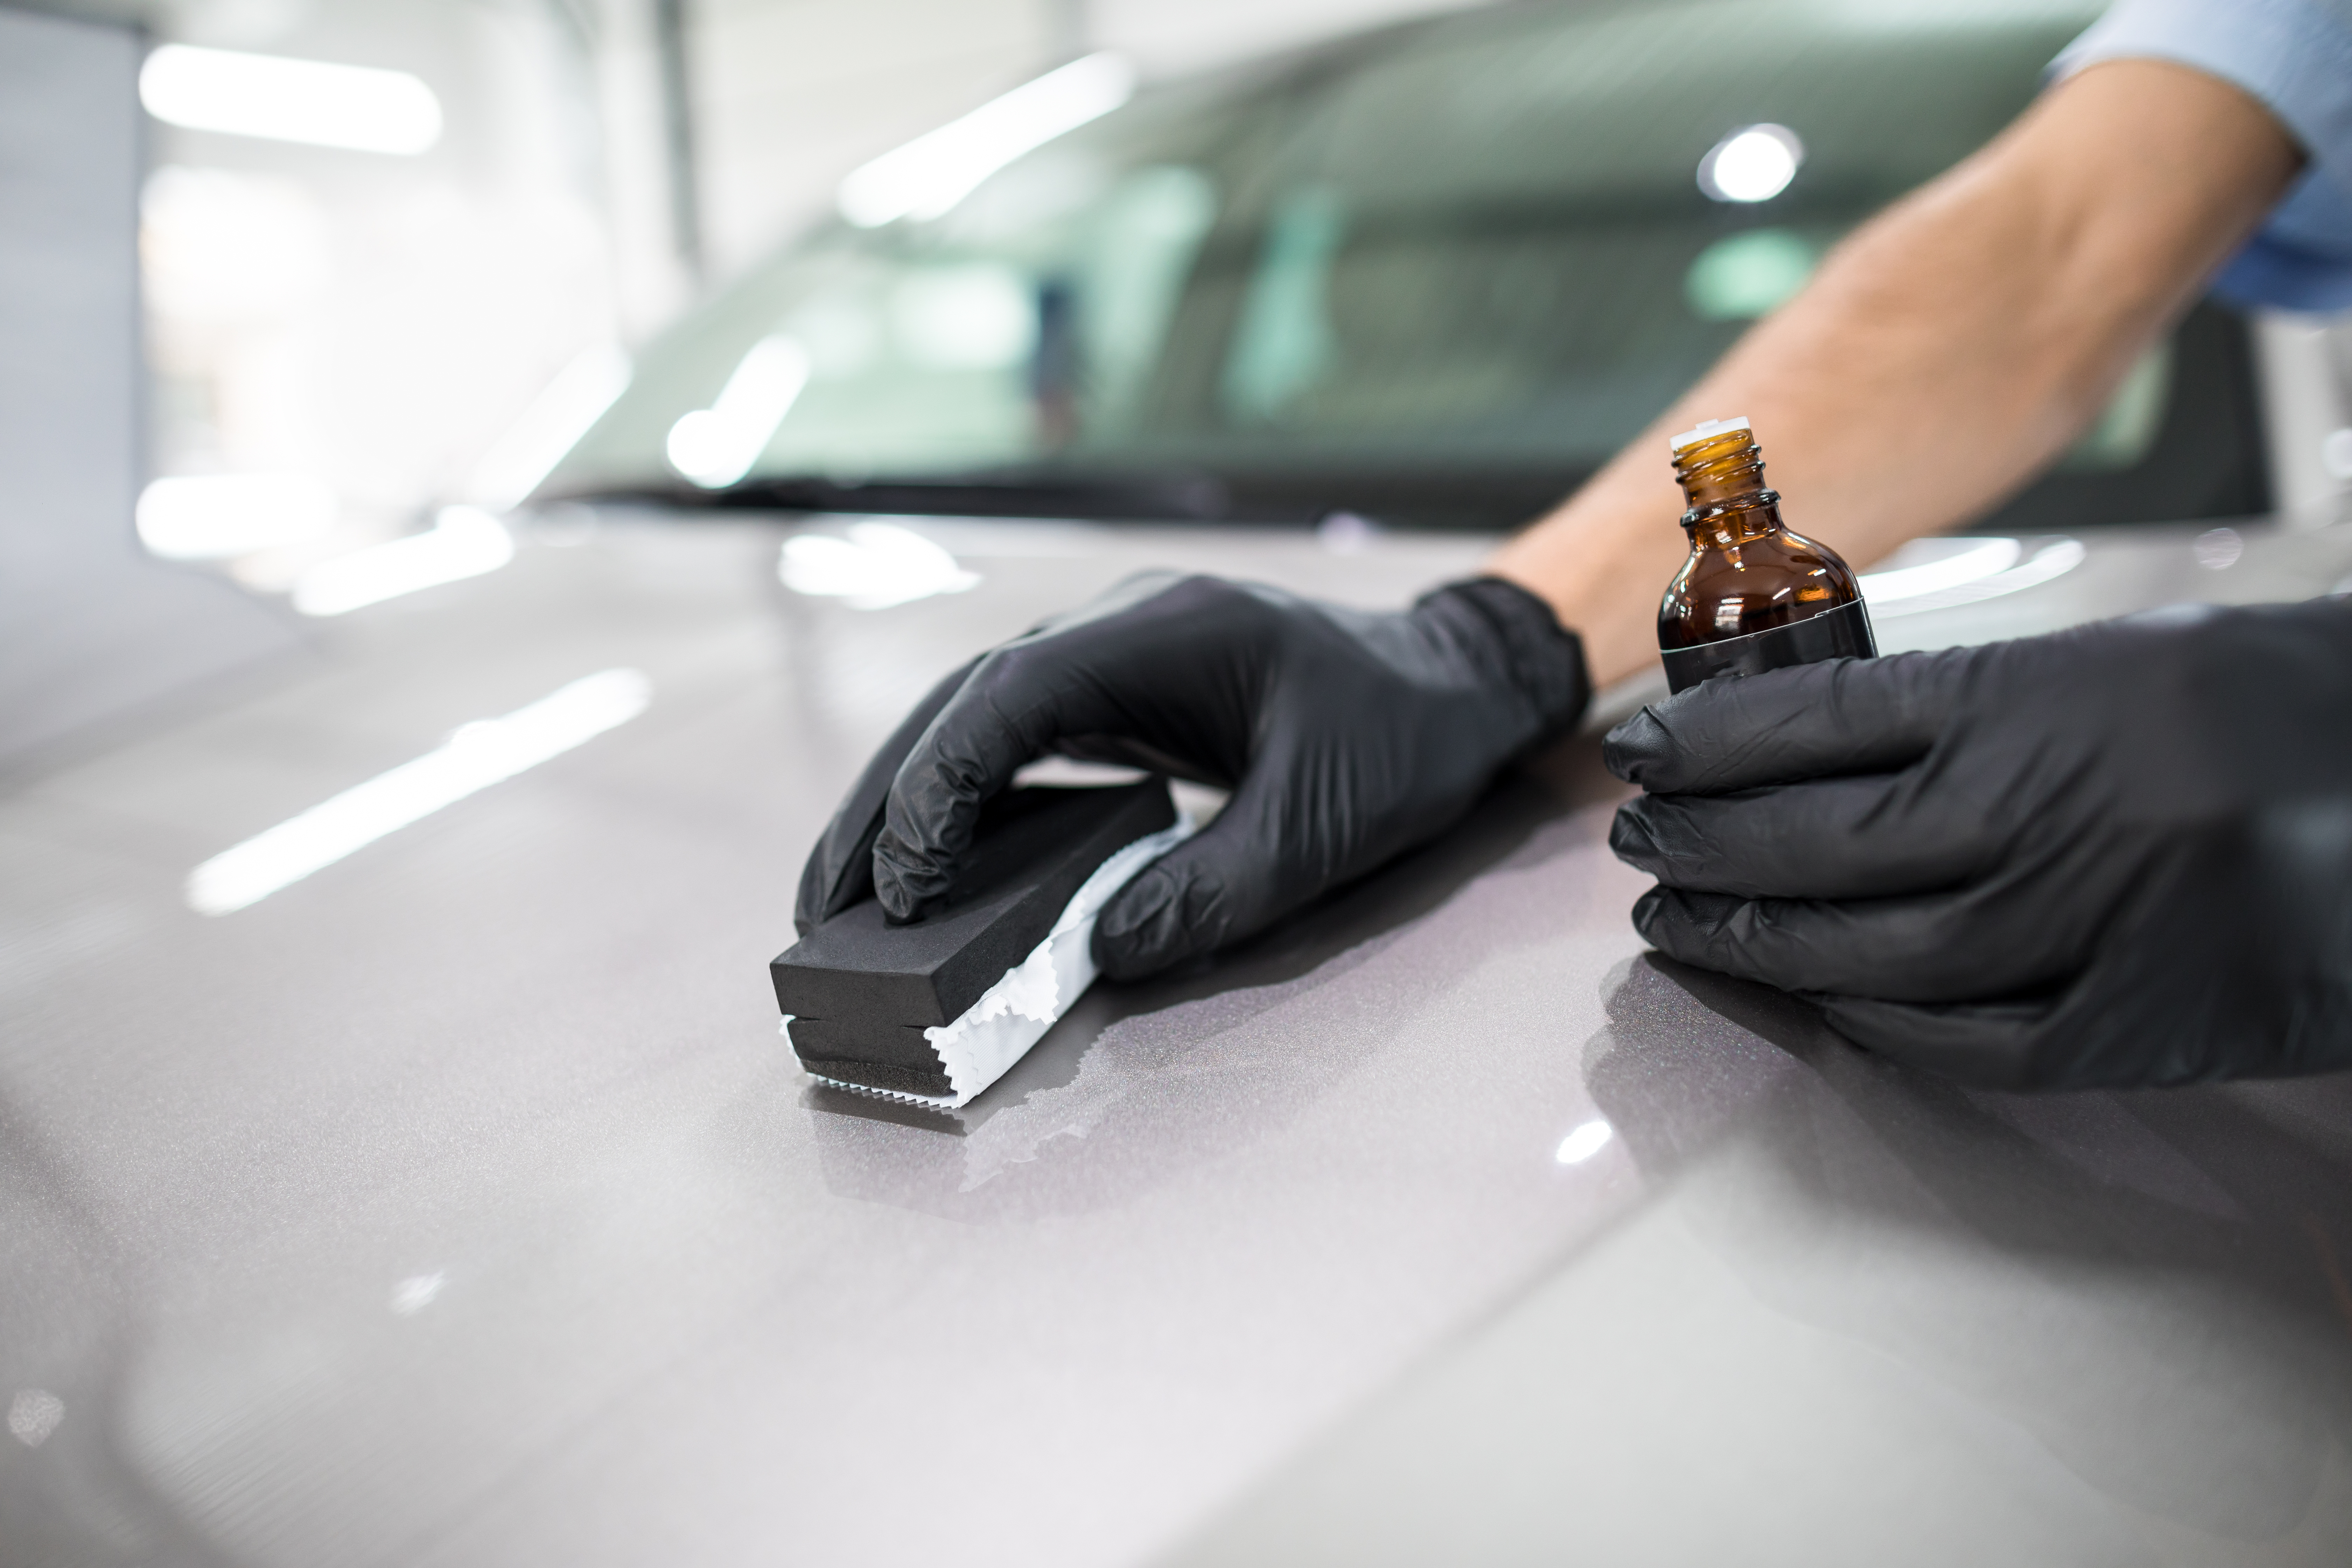

Step Nine
The easiest step of them all – wipe the primed and sanded area with a tack cloth, this will remove any dust or debris leftover.
Step Ten
This step needs to be carried out with a lot of focus and concentration, you need to spray a light coating of paint onto the area that is being repaired. The paint needs to be so light and thin that you can still see the scratch, do not completely coat it and hide the mark, this won’t work.
The reason we suggest spraying the first layer of paint incredibly thin is so that it gives subsequent layers something to adhere to.
Step Eleven
Step 11 is simple, using the paint spray begin layering the paint, remember light layers, allowing them to dry fully in between, this needs to be so the paint is tack free. If you find the paint is running, bleeding or sagging you are spraying too much on at a time.
Several layers of thinly applied paint will look much better than two thick layers.
Step Twelve
Finally, please let the paint dry for several days, we would always recommend at least a week, then finish off by using a compound rub to gently blend any new paint with the original paintwork of the car.
If you have followed our steps to the letter you should be able to wash and polish your car with wax, with the paintwork repair not being recognisable.
Contact DW Motor Services For Car Repairs
Although scratches can be repaired as a DIY job, some deep scratches are beyond repair, but if you’re sure that the scratch is only superficial then there are a few ways to help repair it. If this doesn’t work or you want something more long term, get in touch with our team of car paint repair experts here at DW Motor Services.
Get in touch with us today and we will be more than happy to help get your car back to its original quality, you won’t even remember where the deep scratch was.